Bathroom Ventilation for Small Rooms With Wood Shelves or Wood Accents
A darkened shelf edge, droplets beneath the wood, or a surface that stays damp after a shower tells you more than fan noise alone. For bathroom ventilation and wood, confirm that the fan exhausts outdoors, maintain a path for replacement air, run the fan during bathing and for about 20 minutes afterward, and place wood beyond direct splash.
Ventilation helps remove humid air and supports drying. It does not waterproof a shelf, stop water from striking it, or correct a plumbing leak.
The useful test is whether the installed system moves air effectively and whether the wood dries between uses.
broader context
Broader context
Use the broader page when you need more context before this narrower page.
Check the Installed Ventilation
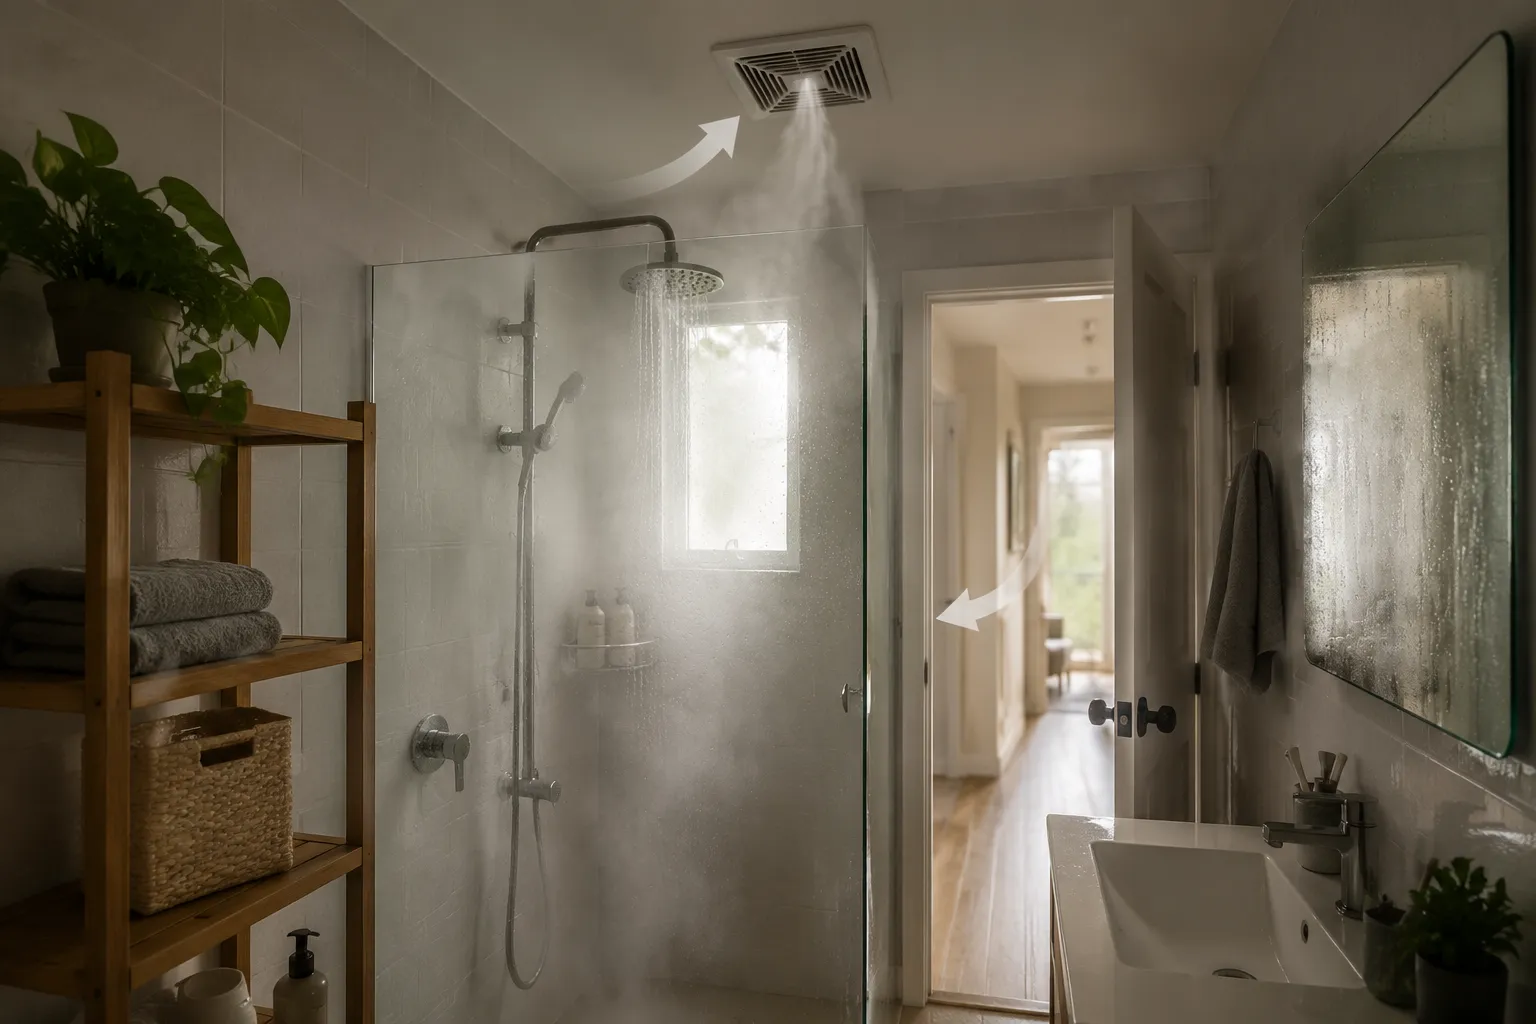
Begin with what happens in the room after bathing. Does mirror condensation clear steadily? Do the top and underside of the shelf dry? Does moisture linger when the bathroom door is closed? These observations can reveal a problem, although they do not measure airflow.
The Home Ventilating Institute (HVI) recommends approximately 1 cubic foot per minute, or CFM, for each square foot of floor area in bathrooms up to 100 square feet. By that guideline, a 40-square-foot bathroom would need approximately 40 CFM. This is a planning reference, not a substitute for current local mechanical and electrical requirements, the fan’s product listing, or its installation instructions.
The rating on a fan describes its nominal capacity. Actual airflow can be affected by duct length, bends, restrictions, installation details, and the exterior termination. A higher number on the box does not confirm that the completed system performs as expected.
Check the room and system in this order
- Confirm that the fan exhausts outdoors. It should not discharge into an attic, wall cavity, or another enclosed part of the building.
- Look at the path through the room. Air should move from the replacement-air opening toward the exhaust rather than leaving a still pocket around the shower or shelving.
- Maintain replacement air. HVI notes that an undercut door or another pathway from an adjacent space can allow air to replace what the fan removes.
- Inspect accessible components. Clean a dirty grille and check whether the exterior termination is obstructed. Concealed duct problems may require a qualified local professional to investigate.
- Use enough runtime. HVI recommends operating the fan for about 20 minutes after bathroom use. A timer or suitable automatic control can make this more consistent.
- Respect installation limits. Equipment near a tub or shower must comply with its product listing, manufacturer instructions, and current local requirements.
A quiet fan may be easier to leave on, but quiet operation does not establish adequate airflow. Visible steam is not a complete test either; shower duration, water temperature, and spray pattern all affect what appears in the room.
Keep Wood Away From Direct Water
Wood shelves in a bathroom can become wet in several ways, and the fan addresses only one of them.
Humid air spreads through the room during bathing. Exhaust ventilation can shorten that humid period and support drying. Condensation may still collect on cooler surfaces, so persistent droplets or a damp shelf underside deserve attention.
Direct splash is a separate problem. Water from a shower, basin, wet hand, or dripping bottle may repeatedly strike the shelf, its edges, mounting points, or objects stored on it. A fan cannot make that position suitable for wood. Moving the shelf beyond the spray path may be more useful than choosing a fan with a larger nominal rating.
Treat isolated wet spots separately as well. Water near a pipe, wall penetration, vanity joint, or bracket may indicate a leak rather than ordinary bathroom humidity. Wet towels, saturated plant pots, and containers that collect water can also keep one area damp while the rest of the room dries.
Place a new shelf where you can wipe the top, inspect the underside, and see the wall connection. Avoid raw wood beside a shower opening, directly over a tub, or close to a basin where splashing is routine.
The deciding question is not simply whether a named wood species is suitable for humidity. Ask whether the finished object can avoid repeated wetting and dry fully between uses.
Signs the Setup Needs Attention
“Moisture-proof wood” is common marketing language, but it is too broad to guide a bathroom installation. Ordinary wood does not become waterproof because the room has a fan, and the available sources do not establish one wood species or finish as a universal answer.
Watch the installed shelf instead. Inspect it more closely if you notice:
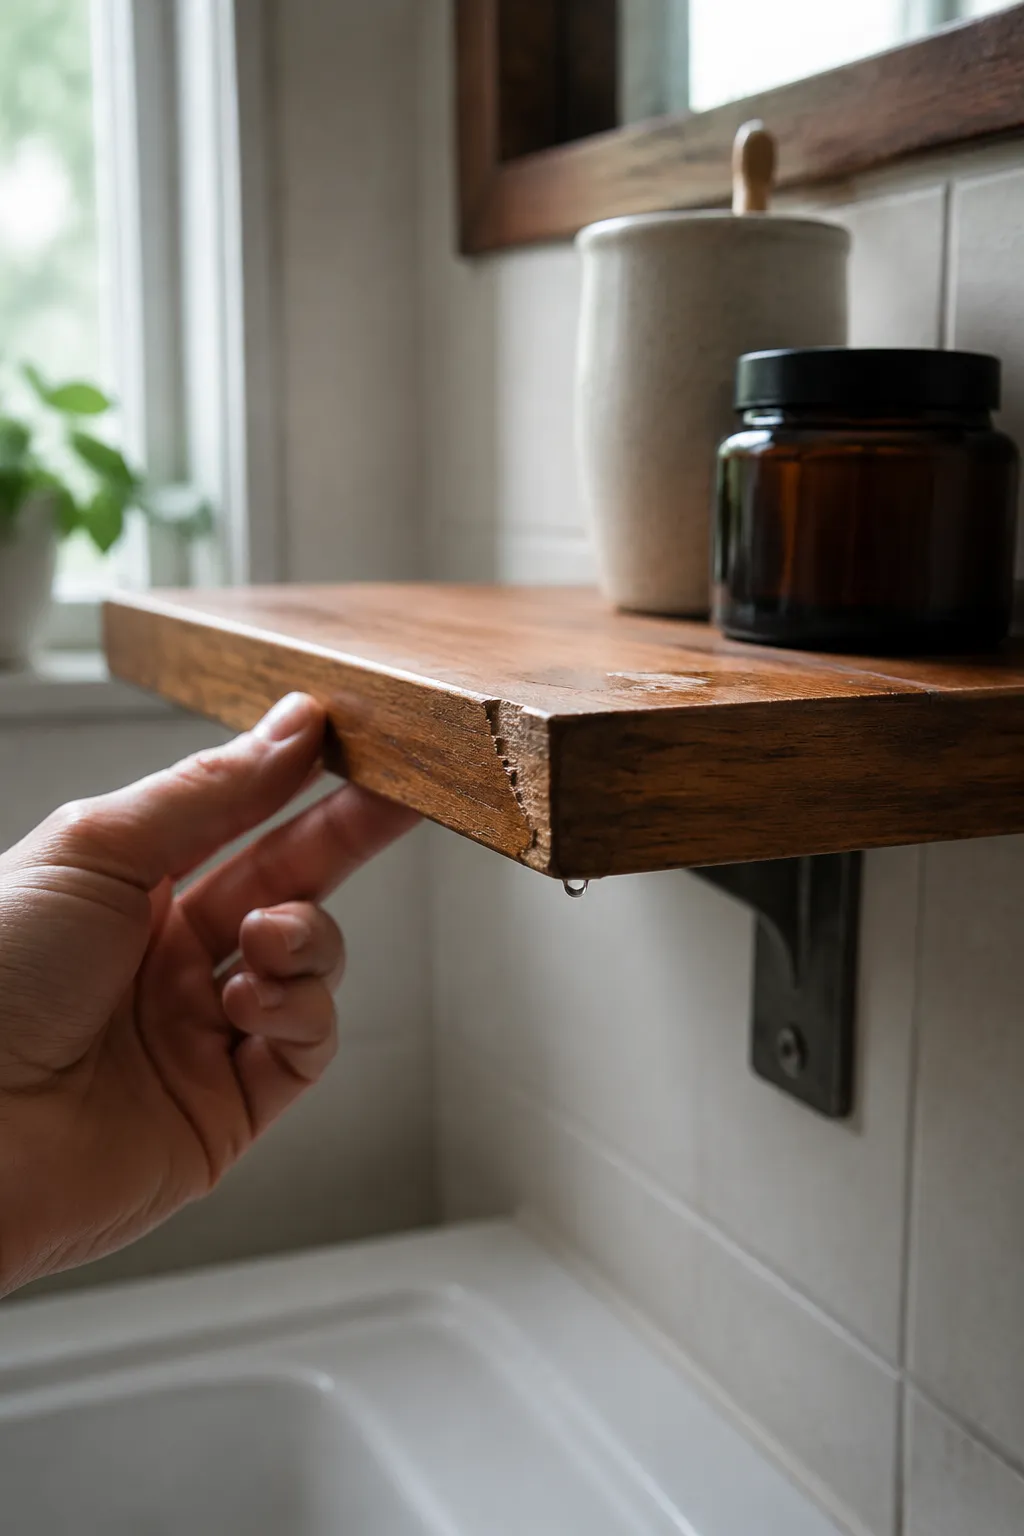
- Droplets remaining on or beneath the shelf
- Slow drying after ordinary bathroom use
- Raised grain or a changing edge texture
- Swollen or visibly distorted edges
- Bowing, cupping, or twisting
- Movement at joints or between assembled parts
- A cloudy, lifted, or locally damaged finish
- Recurring stains around brackets or screws
- Loose hardware or movement at the wall
- Persistent odor, visibly soft material, or visible surface growth
These signs do not identify the cause by themselves. A changed edge, for example, could be associated with direct splash, a leak, a wet object, damaged finish, mounting movement, construction details, or prolonged dampness.
Start with what you can observe. Remove wet objects, wipe the shelf, run the exhaust, and note whether the wood dries fully. Check for an obvious spray path or leak. If dampness returns, examine the fan runtime, replacement-air opening, grille, exterior termination, and accessible ducting.
Recurring dampness, soft material, loose mounting, persistent staining, or visible growth calls for closer investigation of both the water source and the installation. Covering the area or touching up the finish does not address why it changed.
Follow the Product’s Care Instructions
Species is only one part of a bathroom shelf. Placement, construction, finish, exposed edges, concealed faces, mounting penetrations, and access for cleaning and inspection also shape the result. The available sources do not support prescribing one finish system for every shelf or wood accent.
For an existing finished shelf, follow the care and recoating directions for that product or finish. Before installing a new shelf, ask the maker or coating manufacturer whether the proposed system is intended for that indoor location and how cut edges, faces, joints, and mounting points should be handled.
Follow the product directions for preparation, application, room ventilation, curing, ignition control, protective equipment, and disposal. Do not improvise a solvent or coating method from an anonymous discussion, or assume that coating only the visible top creates a complete barrier.
Keep brackets and wall connections accessible for inspection. If staining develops around hardware, a bracket moves, or a gap opens at the wall, remove the shelf load and examine the attachment and nearby moisture conditions. Electrical work, new ducting, concealed leakage, damaged material, or uncertain fan placement near a tub or shower may require a qualified local professional familiar with current local requirements.
The Practical Decision
Keep the wood accent in place when it sits beyond direct splash, dries between uses, shows no continuing surface or mounting changes, and is served by a fan that exhausts outdoors. Run the fan during bathing and for about 20 minutes afterward, with a usable replacement-air path.
Reconsider the placement when the shelf remains damp, changes shape or finish, develops recurring stains, or becomes loose. Also investigate when you cannot confirm the fan’s exterior discharge or effective installed airflow. Moving the wood away from the wet area is the smallest useful adjustment while the moisture source or ventilation problem is checked.
The available evidence is strongest on ventilation operation, not universal claims about wood species or coatings. Verify the airflow path, limit direct wetting, and observe how the shelf dries.